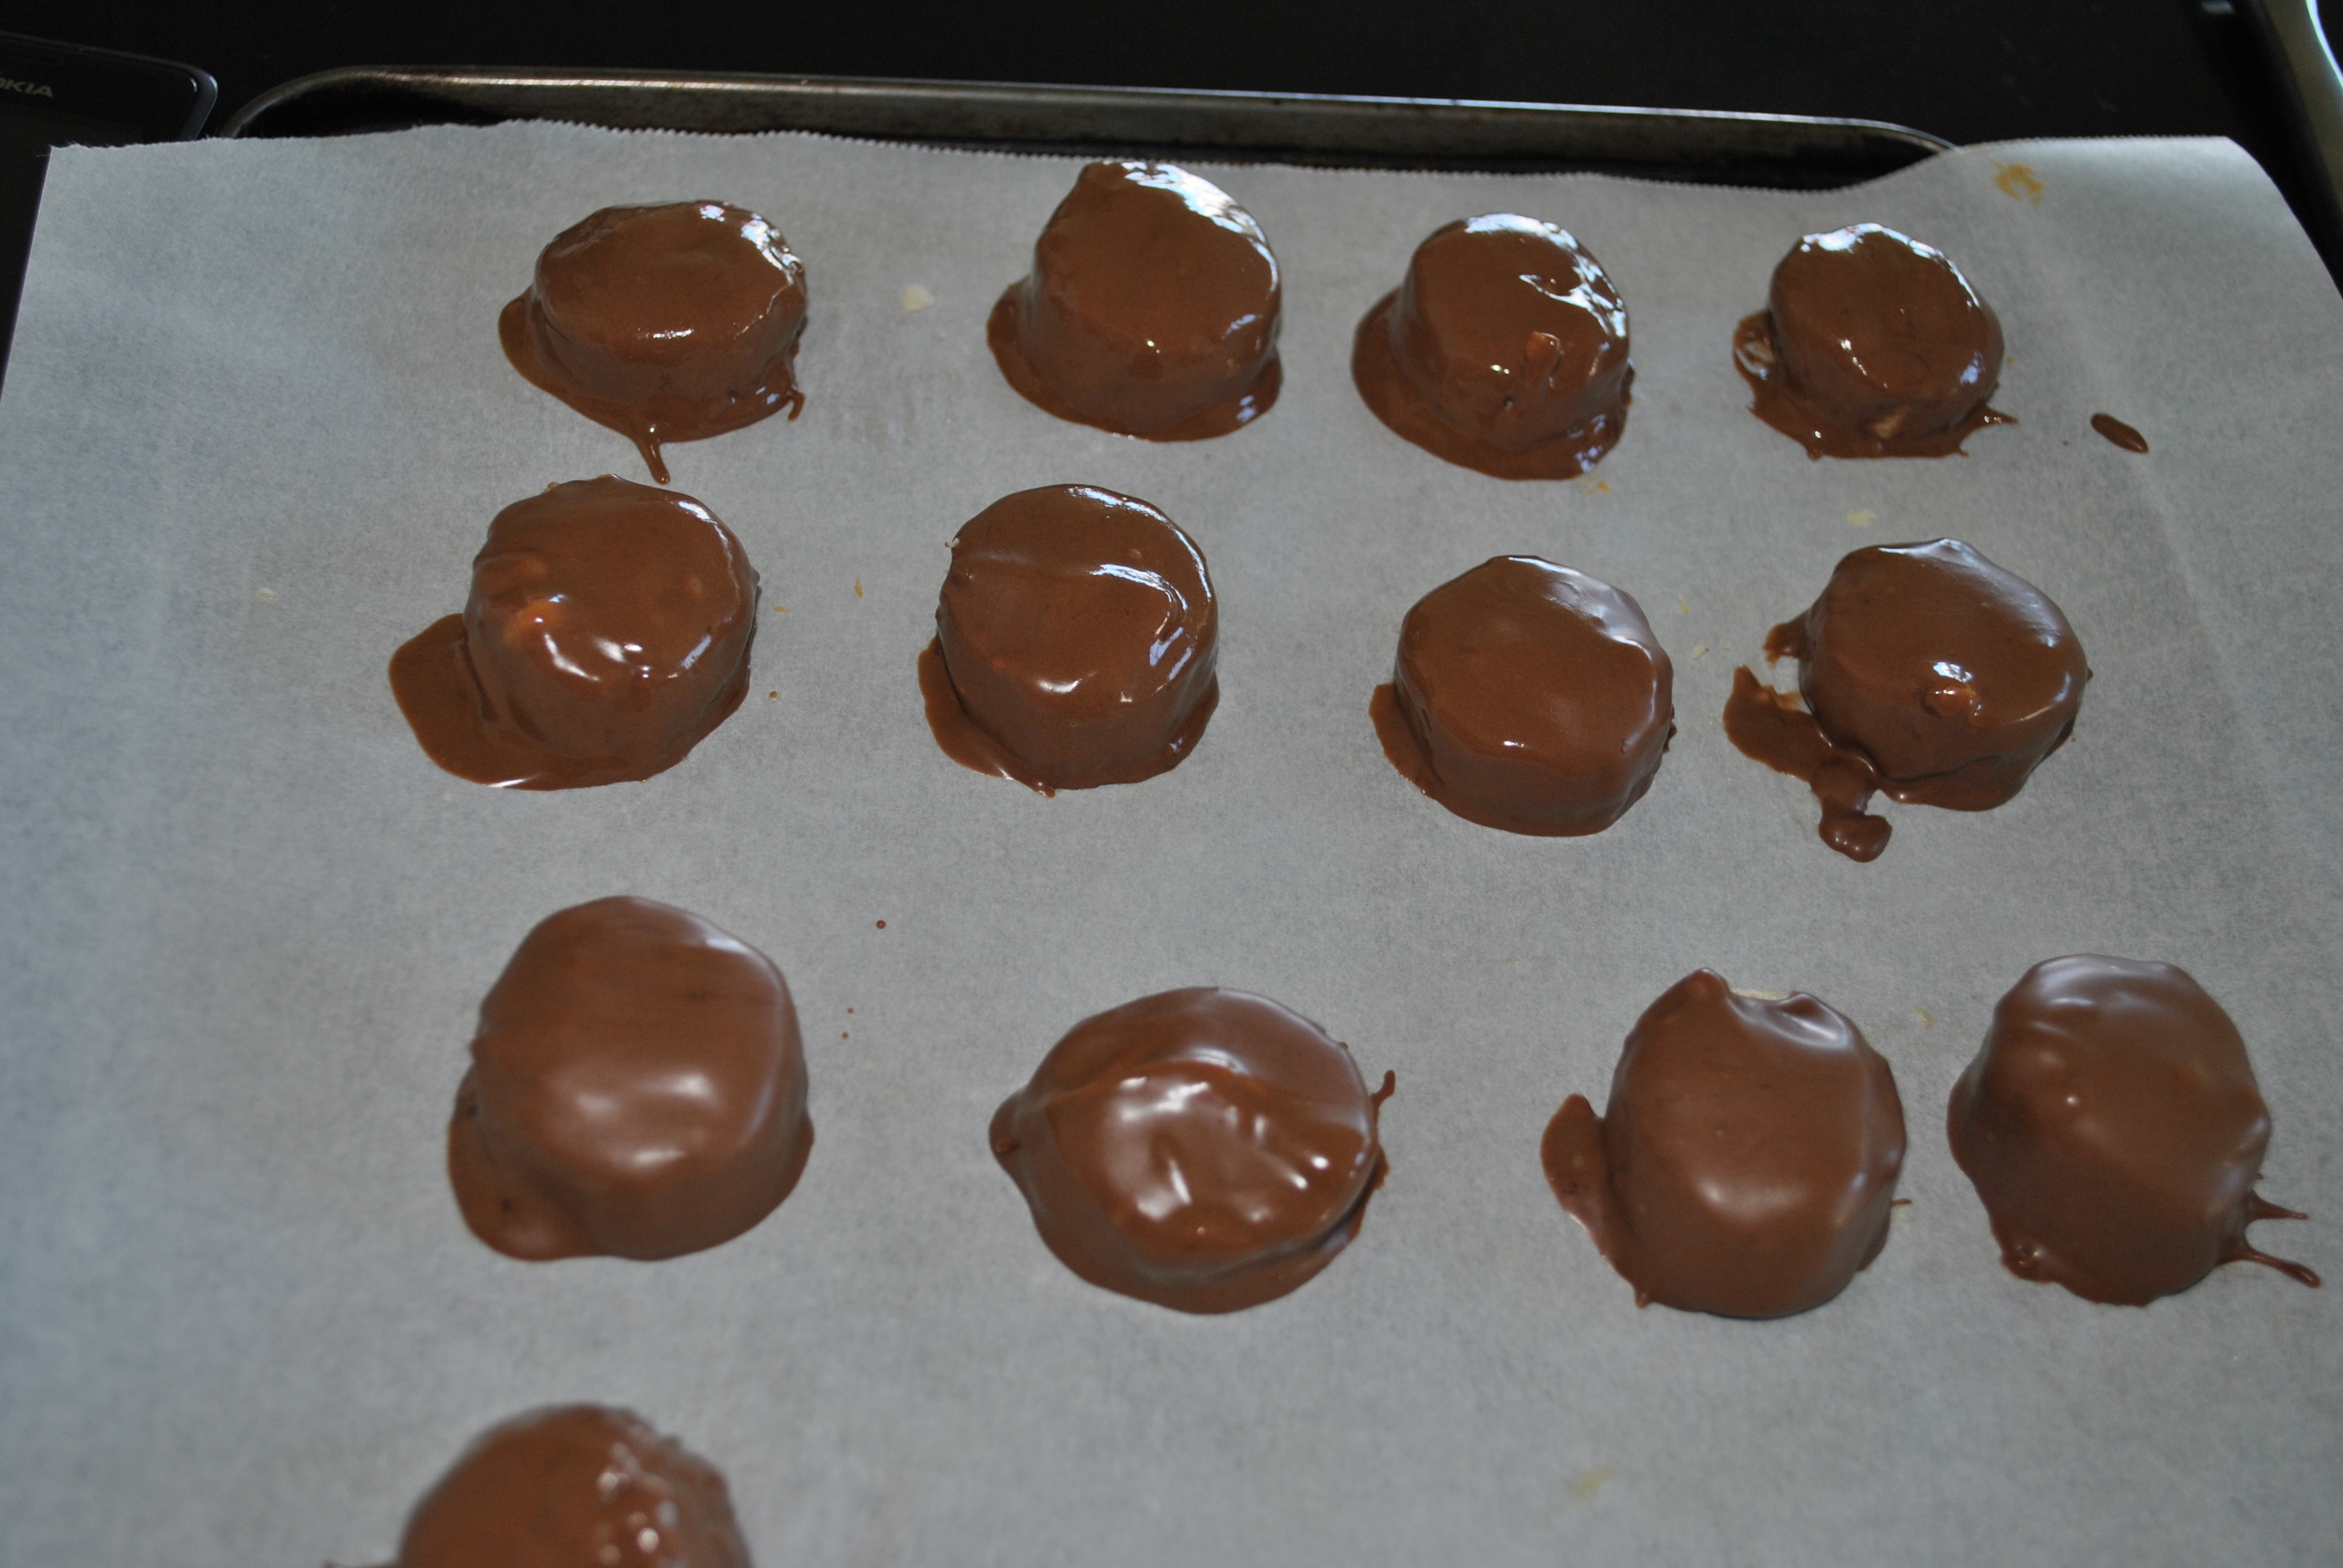
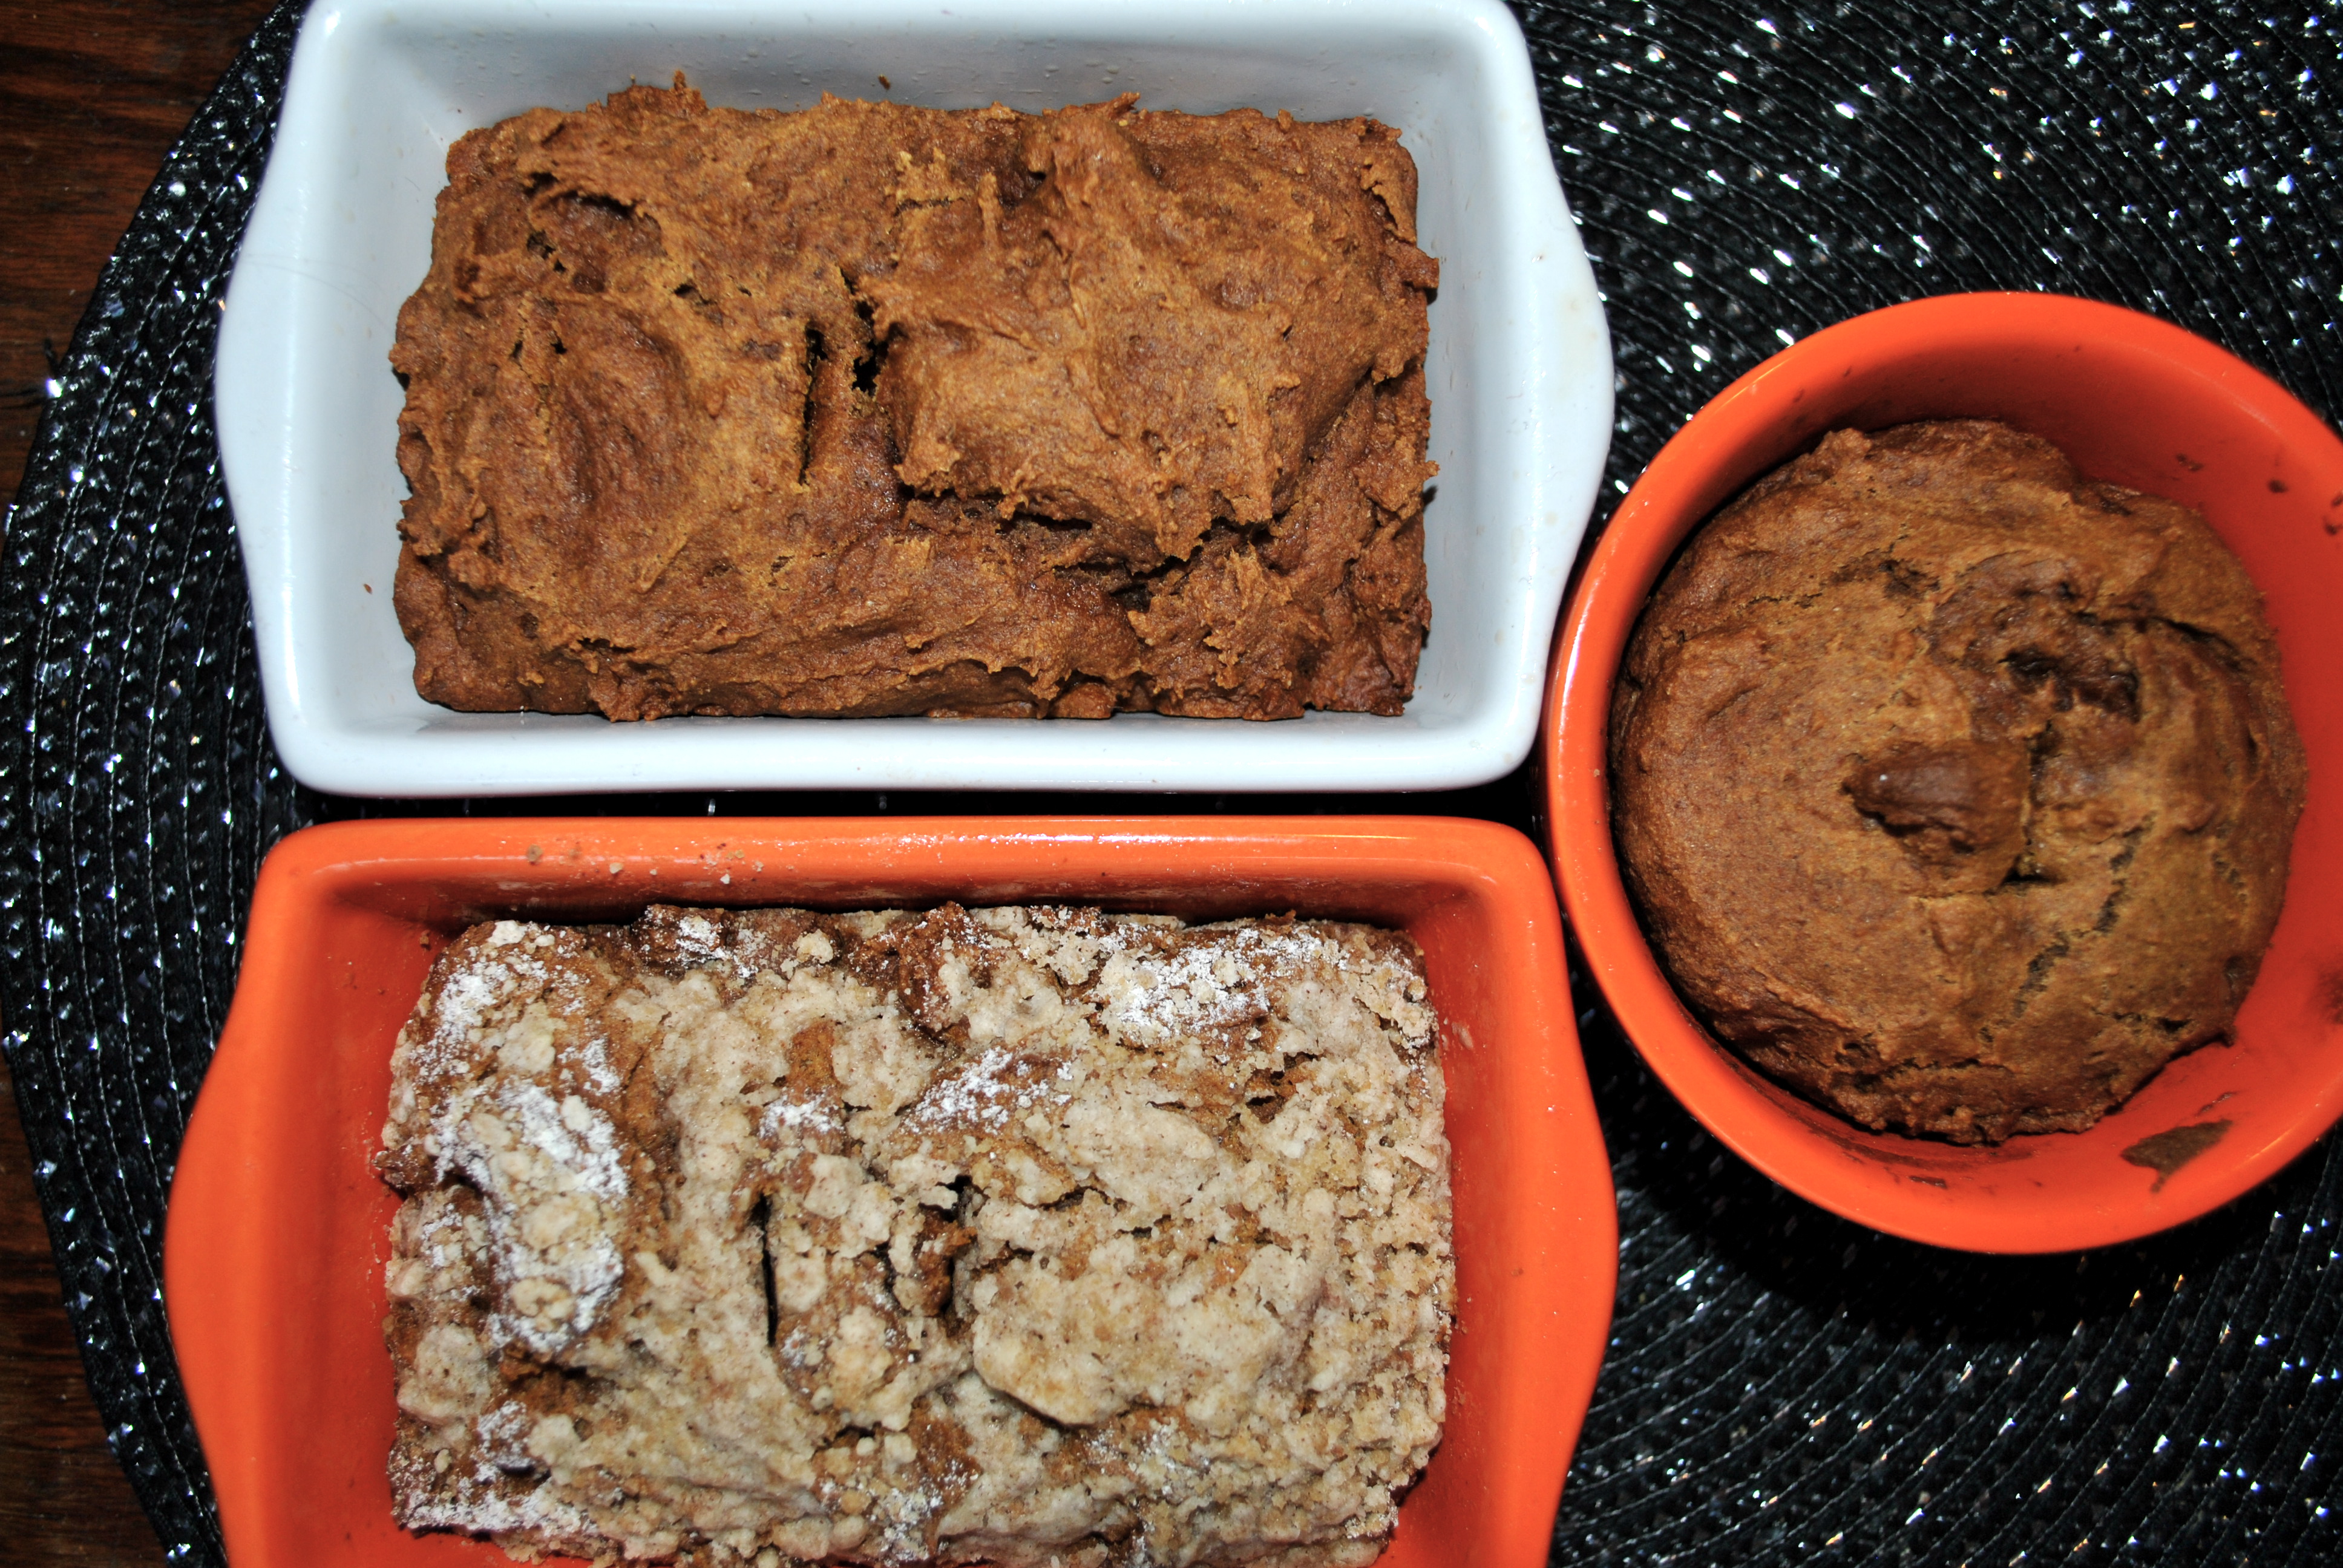
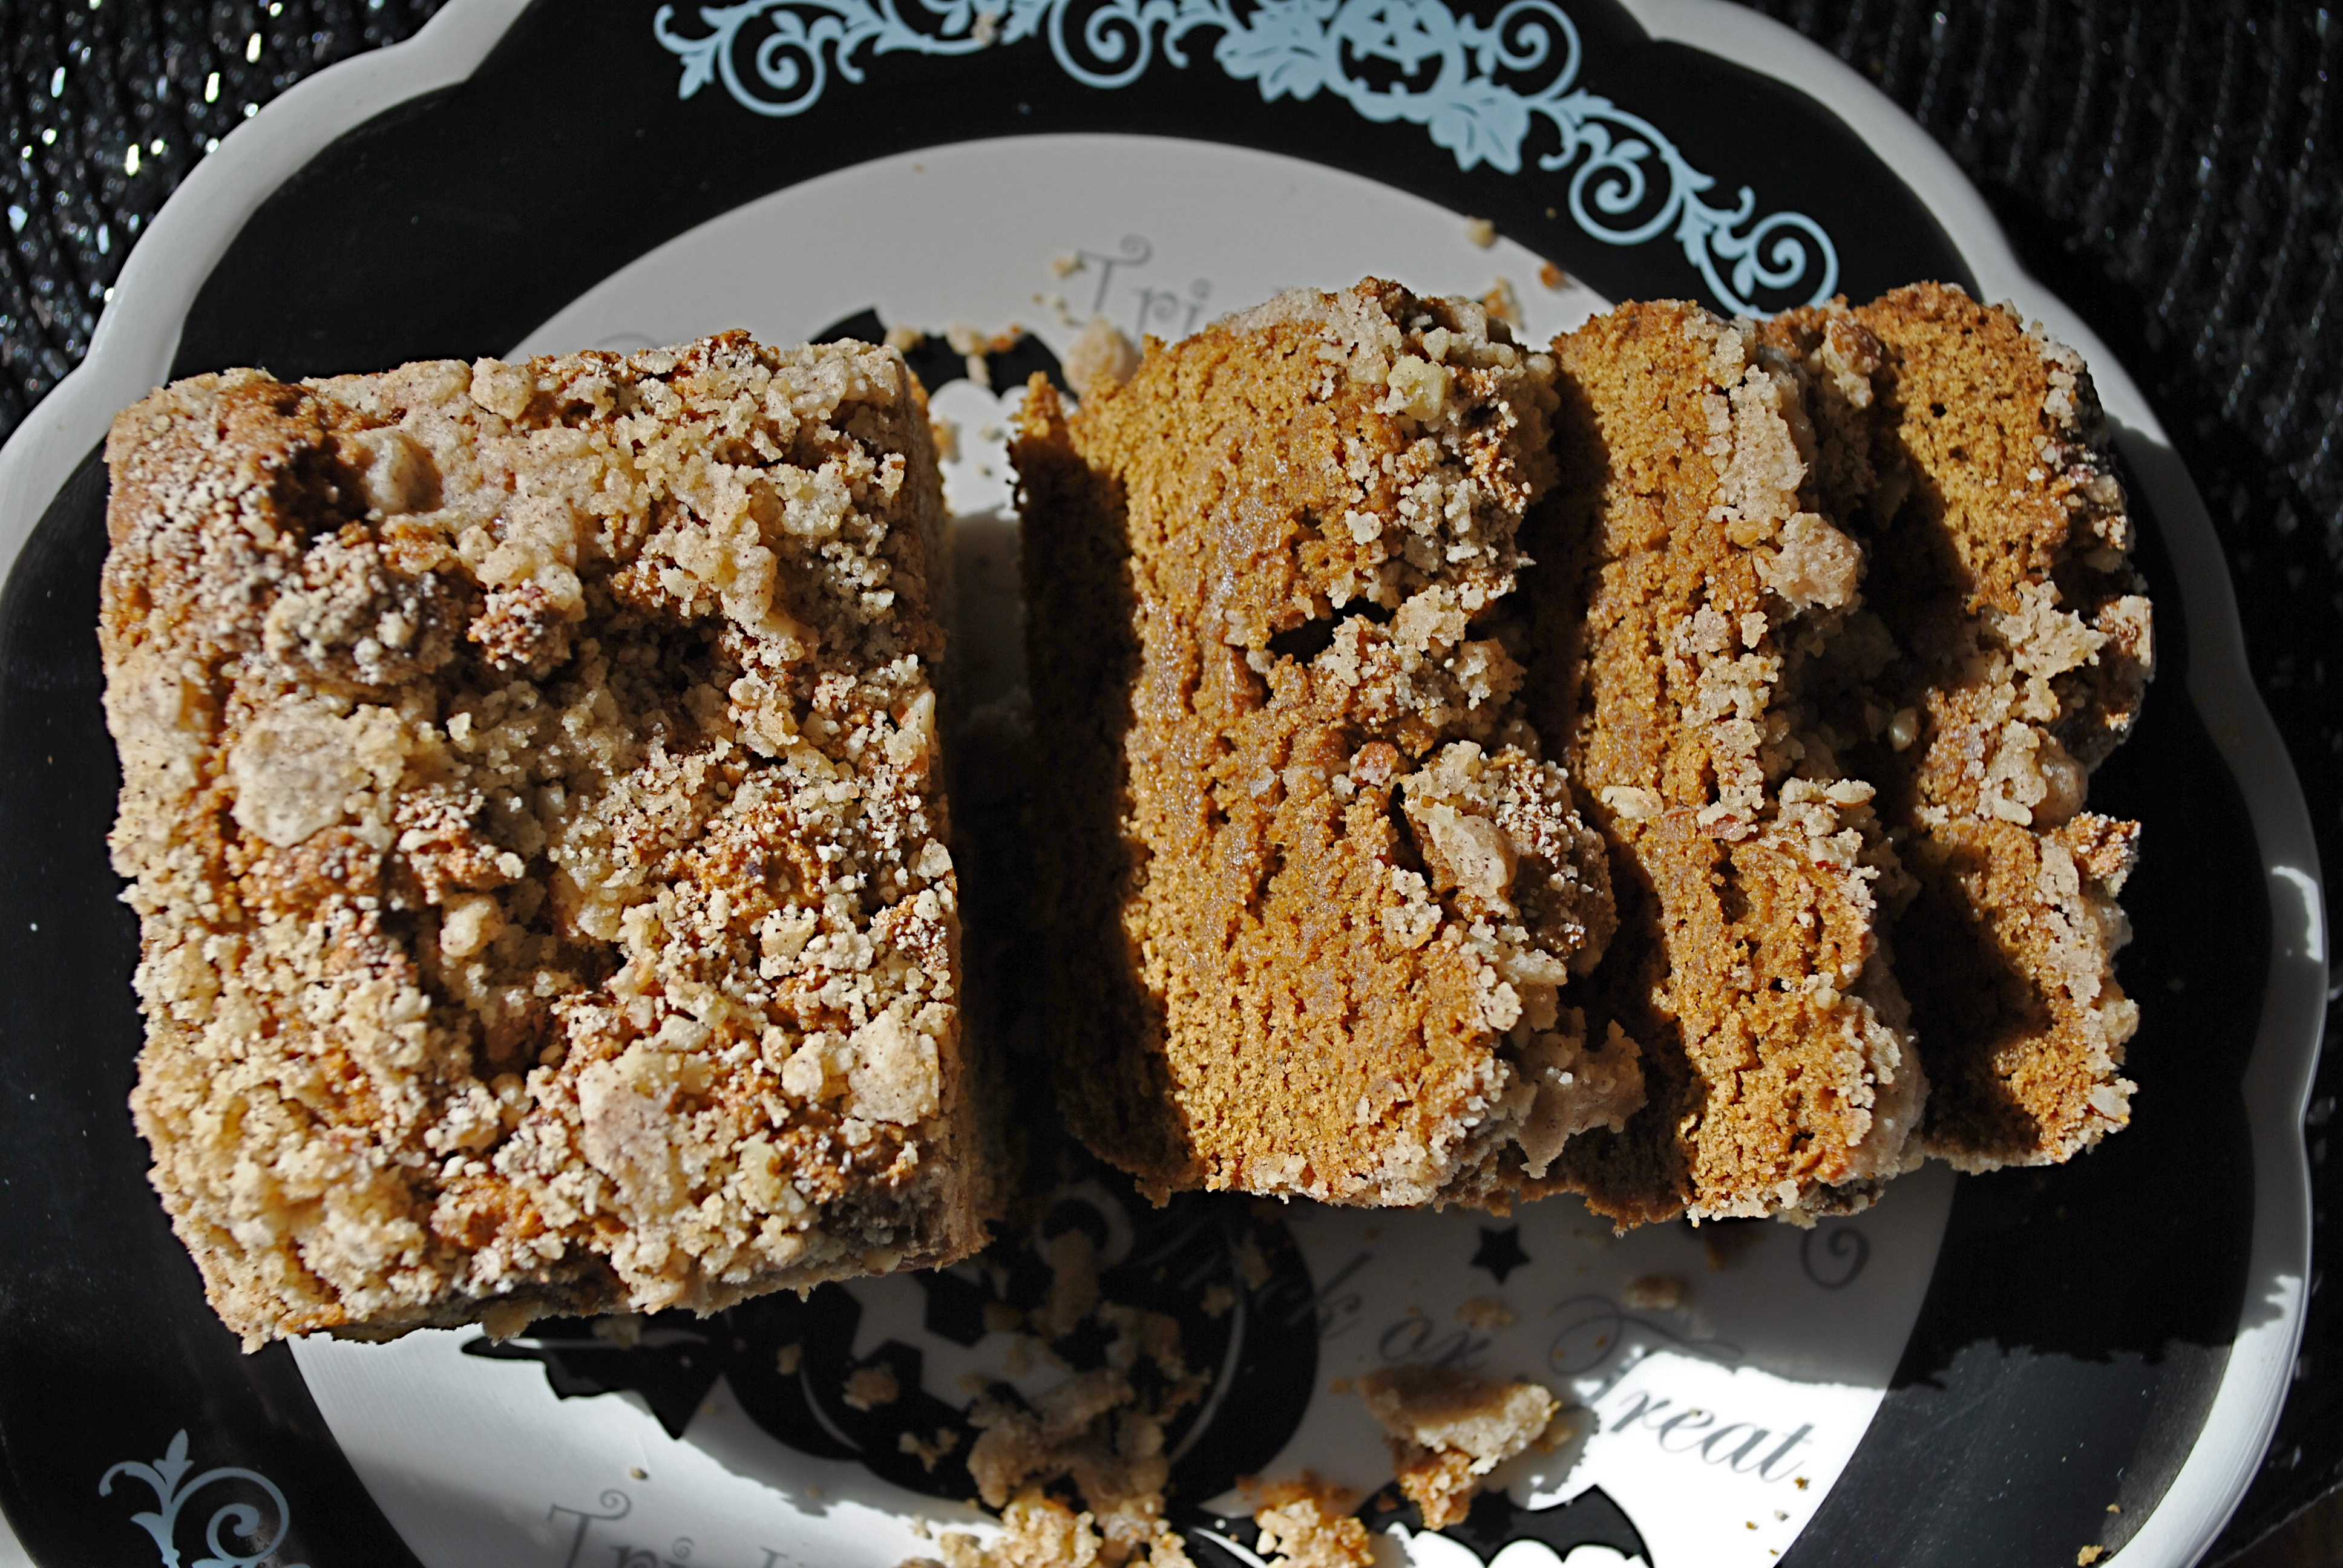
So today I’m sharing with you Peanut Butter Triple Chocolate Cookies, aka, The Resolution Breakers. These can be eaten in cookie format OR in cookie dough format. They have three kinds of chocolate, they have peanut, they have sugar, they are basically everything that people give up when they start the New Year and swear to eat health. I’m sorry but they are just too good not to share.

But first, Friday Favorites!
This commercial, which has me dying to know where my pogs went and if we can make them a thing again
This Full House Reunion, which begs the question ‘Has Uncle Jesse been living in a bubble because he looks EXACTLY the same’:
This song and the entire Save Rock and Roll album by the Fall Out Boys. I’ve listened to it every day this week during my work outs and I can not get enough. For some reason, I just really love FOB when I am in a foreign country. I can’t explain it
Sally Hansen- Golden Rule nail polish. It’s gold and glittery and nothing like the normal nail polishes I wear, which are black or red. But I’m half way through my Golden Rule bottle and I still love it so that speaks volumes. I tried to take one of those fancy pinterest photos of my nails and the nail bottle and honestly, it just wasn’t happening. Google it. You’ll find pictures a thousand times better then mine.
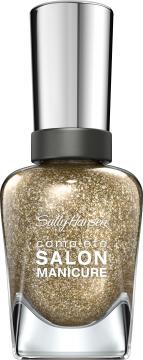
from Sallyhansen.com
and finally, these Peanut Butter Triple Chocolate cookies. I’ve been craving chocolate like there’s no tomorrow lately and these seem to hit the spot. I threw in some peanut butter on a whim. My all time favorite peanut butter is Teddy’s and I received two jars from the states for Christmas. I’ve pretty much been eating it on everything which may or may not be a good thing. So, when I was making these cookies I thought, why not throw some peanut butter in? And then I thought, why not dunk the thing in even more chocolate. Yeah…I think I have a problem.

Peanut Butter Triple Chocolate Cookies
recipe adapted from Cadbury Double Chocolate Chip Cookies
- 1/4 C. butter, softened
- 1/4 C. all natural peanut butter
- ½ cup brown sugar
- ⅓ cup sugar
- 1 Energ-E egg
- 1 teaspoon vanilla
- 1½ cups self raising flour
- ½ cup cocoa
- ¾ cup vegan chocolate chips
1 cup of vegan chocolate chips for dunking (optional)
1. Cream together butter, peanut butter and sugars until light and fluffy. Whisk in “egg” and vanilla. Stir in flour and Cocoa then fold in the chocolate chips
2. Roll into balls and place on greased baking trays. Bake in oven at 320°F/160°C for 10-15 minutes or until cooked. Cool on a wire rack.
3. Once cool, melt your chocolate chips in a double boiler (my preferred method) or in the microwave. Dunk half the cookie in the chocolate and place on wax paper to dry.

These also make DELICIOUS cookie truffles. To make, just skip step 2. Instead, roll your dough into balls, chill and then dunk in melted chocolate. This is equally delicious and you can save yourself 10-15 minutes if you are UBER craving chocolate. Or you can just mix the dough and eat it straight out of the bowl. I’m not judging.